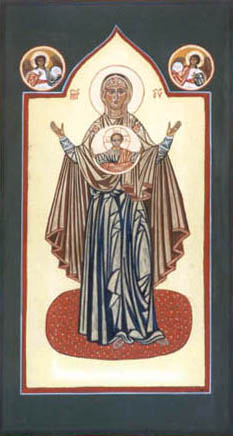
Repetition of an icon painting
Repetition is in the nature of an icon. After all, it represents an unchanged portrait, of persons or events, so that the believer will recognize it from afar as an icon. The predefined shapes and lines of an icon have templates and overprints as the basis. Painting books provide detailed instructions on how to repeat an icon painting. Producing an icon is considered to be a sacred act, and the icon painter is expected to prepare his inner self for the task. He needs to be aware that he paints according to a long and ancient tradition and he is bound to strict rules. It isn’t about individual creativity, as he is merely an intermediary. The painting of an icon could be considered as a repetition of the creation. The painter’s skills are subordinate to the symbolism; the creation was an event from darkness towards the light. We see this too in the way the icon is painted, from dark to light.
Step 1
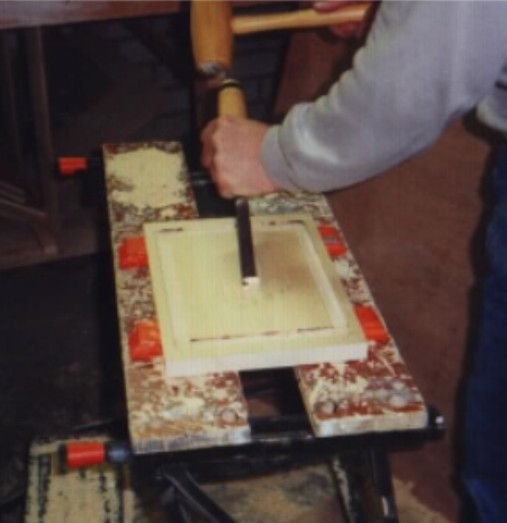
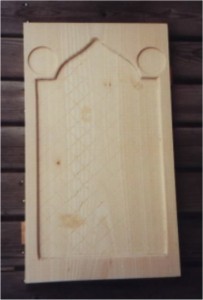
Choose the example and size of the icon to be painted. Before starting you need a panel, often made from lime wood, free from irregularities and knots and 1.5 – 2.0 cm thick. Lime wood has a good structure and is easy to work with. The panel needs to be cut to size to fit the new icon. The panel usually comes with a ‘window’, which creates a border. The width may vary, and the window forms a deeper section of the inner part of the panel, 3 – 5 mm deep. On the back, struts are mounted to prevent the panel warping. These struts are usually made from a different, harder kind of wood.

Step 2
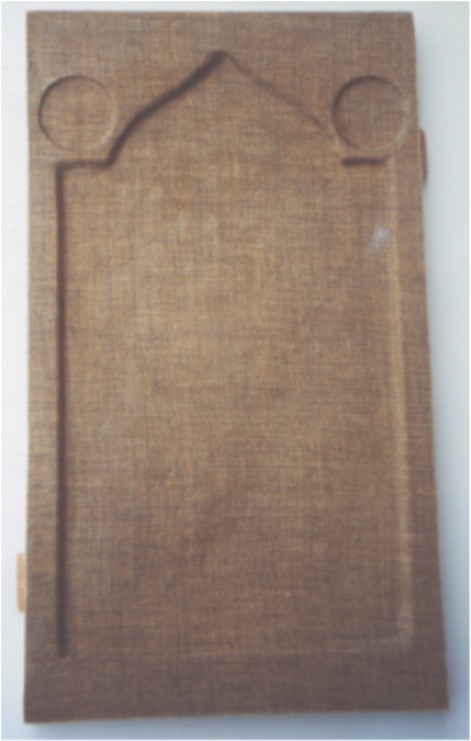
Once the panel has been cut to size and the central section has been hollowed out, the entire panel must be thoroughly sanded to give a smooth finish. The inner section will be scored in squares using a sharp awl to provide good adhesion with the linen layer. This scoring can sometimes be seen on an old icon which is partially damaged. After scoring the panel is sanded smooth again. Then a layer of hot, natural glue such as animal glue will be applied and left to dry for about 24 hours.
Step 3
The next step is to apply the untreated linen to the panel. A piece of linen of the right size will be immersed in hot animal glue. Once it is completely soaked with glue the linen is carefully applied to the panel and smoothed to ensure it has no wrinkles. The panel must then be left to dry for a long time, after which the excess linen can be trimmed off. The linen has to be completely smooth and without wrinkles as it dries on the panel.
Step 4
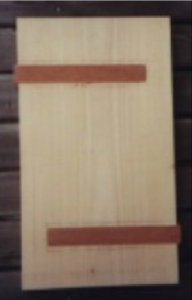
Then several gesso layers have to be applied. Gesso is a plaster-like mixture of very fine chalk mixed with animal glue which is applied layer by layer. Each layer has to dry thoroughly before applying the next layer. About 8 to 10 layers in all are applied. Once the final layer has been applied the whole surface needs to be sanded and polished with water-resistant sandpaper, until it resembles eggshell. It may be necessary to apply a few more Gesso layers as some layers are removed through the sanding process. The panel is then allowed to dry thoroughly.
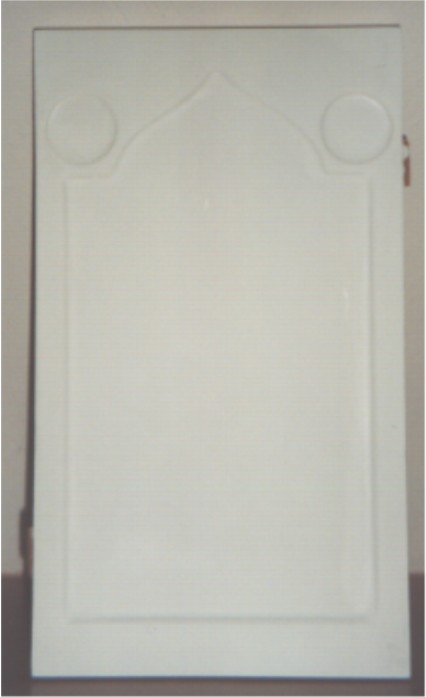
Gesso applied
Step 5
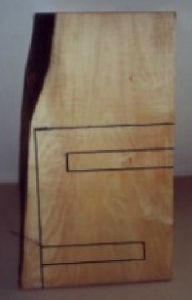
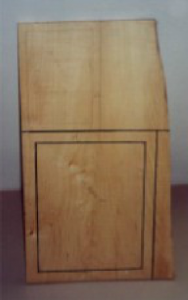
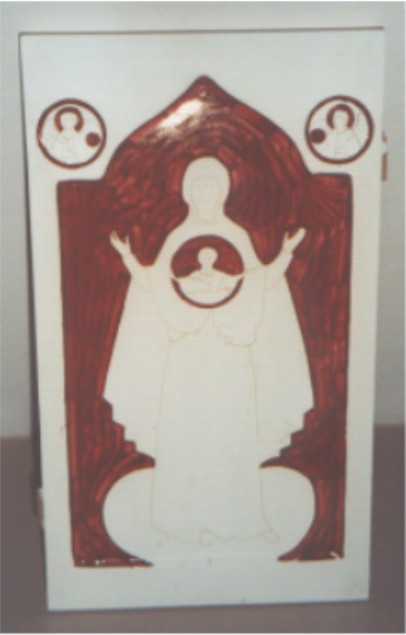
The drawing can now be placed on the panel. The picture is often chosen from old examples which can be found in sample books (‘Podlinniks’), but the old icons themselves can also be used as example. Tracing paper is laid over the icon to be copied and the main outlines can be drawn. Once this has been carefully done, the reverse of the tracing paper is covered with a contrasting dry paint powder (such as sienna). Then the tracing paper is attached to the panel and the pattern is copied.
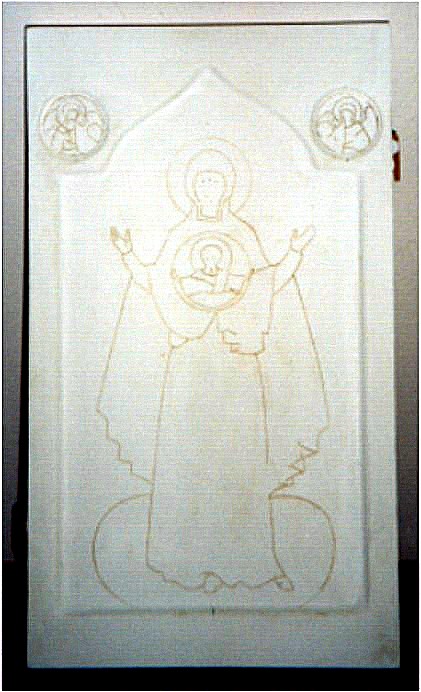
Drawing on the panel
Step 6
If part of the icon is to consist of gold leaf, this must be applied before painting. On the areas where the gold leaf is to placed, ‘Mixion a Dorer’ is first applied which has been coloured with ochre pigment. This will give the gold leaf a warm glow. When the glue is almost dry, the gold leaf is carefully applied. Excess gold leaf is removed after drying using a soft paintbrush.
 Mixion a Dorer is used
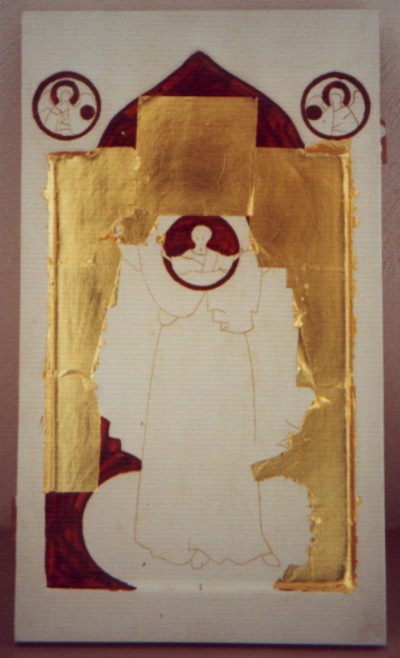
Application of gold foil
Step 7
Now the actual tempera painting can begin. Natural materials such as pigments, egg yolk and water are used. The egg yolk is mixed together with water and pigments to make a paint. The use of egg yolk emulsion, water and pigment is known as tempera technique.
The sequence of painting may vary for each painting, but usually the basic colours are applied first. Different layers are applied to achieve a certain transparency and relief. The darkest shades are applied first, over which lighter or modified colours are added until the right colour has been achieved; painting in relief helps to produce a more beautiful result.
Shadow effects and realistic painting of figures are never found in old pictures. To throw light on specific spots, white or ochre white lines are applied. The face, hands and feet are painted in incarnadine colours. The lettering on the icon has to be done in the same way as on the example. Clothing can be embellished with gold-assist, a mixture of Arabian gum with gold dust. Once the picture is completed, the border of the icon needs to be finished. This can be done with gold leaf, but also with tempera paint in a specific colour, possibly with extra decoration in the form of fine lines.
Step 8
Once the painting has been completed, the icon needs to dry for a considerable time. Tempera paint needs longer to dry to become completely waterproof, i.e. weeks rather than days. Then a layer of varnish (Olifa) needs to be applied to the icon. Different kinds of varnishes can be used, provided they are suitable for tempera. The finishing layer can be lacquer diluted in alcohol. A second option is pure beeswax diluted in natural white spirit, but there are other possibilities. The icon must then dry thoroughly for a long time in a closed, dust-free box or similar.
Step 9
After several weeks, when the final layer of the icon has hardened completely, it is common practice for the icon to be consecrated in an Eastern Orthodox church.